01
Add the source
Drop images or entire folders.
Add a few photos, multiple folders or a nested archive. Supported images are discovered automatically and the folder structure is preserved.
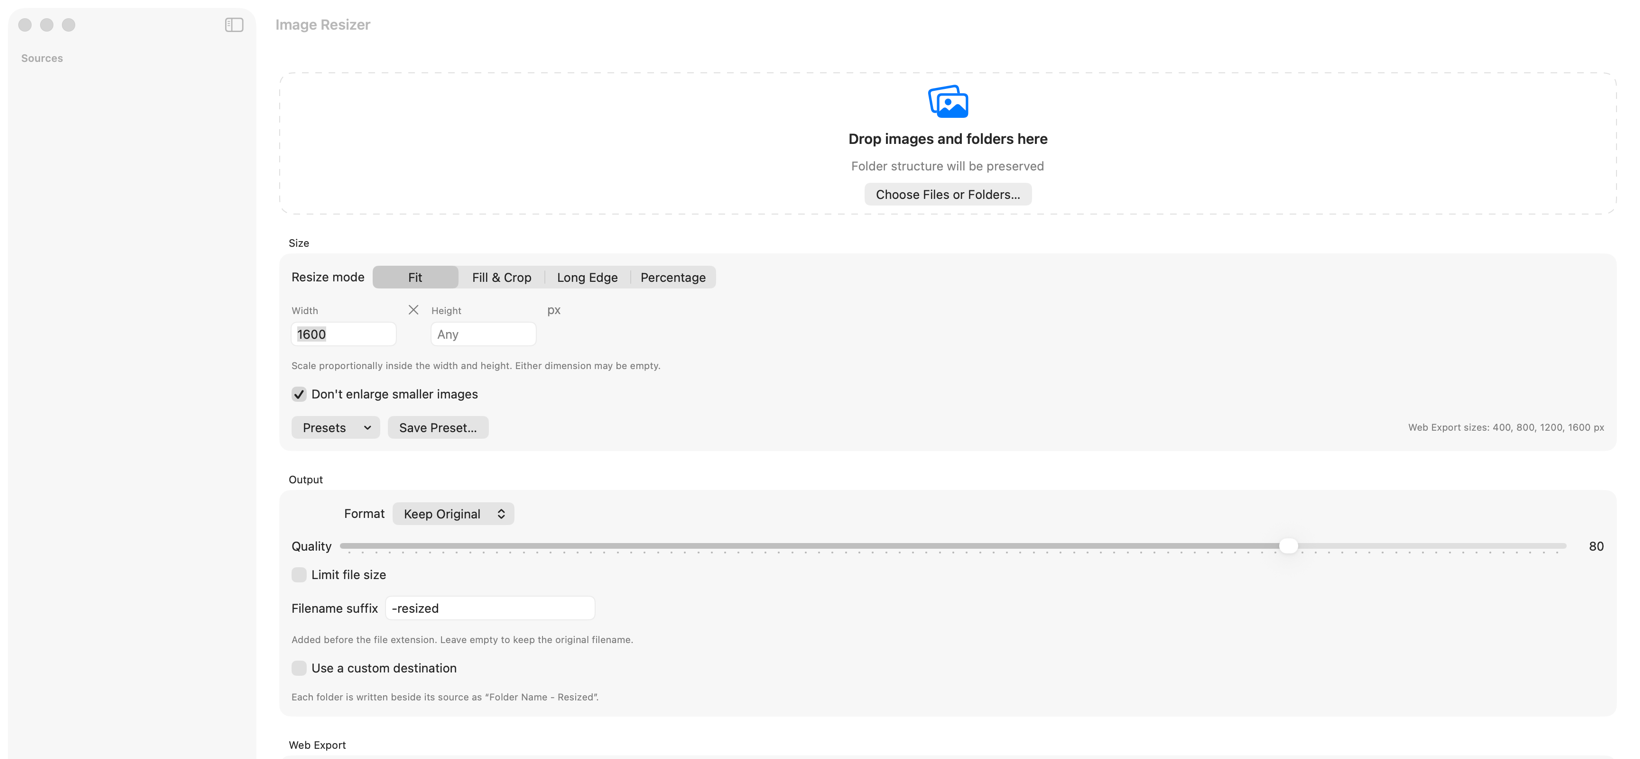
One workflow, four steps
Add your images, choose the result and let Image Resizer handle the repetitive work. Processing happens locally, so your files never leave your Mac.
Download for Mac — freeVersion 0.1.34 · Apple Silicon · macOS 14 or newer
Install once
macOS may ask you to confirm this independently distributed app on first launch. The dedicated guide explains the correct route for macOS 14 and macOS 15 or later.
Add the source
Add a few photos, multiple folders or a nested archive. Supported images are discovered automatically and the folder structure is preserved.
Choose the shape
Pick Fit, Fill & Crop, Long Edge or Percentage. Smaller images stay at their original dimensions by default.
Choose the output
Keep or convert the format. For JPEG and WebP, set a KB or MB target. Preserve useful metadata while removing GPS location by default.
Run and review
Start the batch, pause or cancel if needed, then reveal the finished output. The sources clear for a fresh session while the summary remains visible.
Where files go
For a source folder, Image Resizer creates a sibling folder named Folder – Resized and rebuilds nested folders inside it.
For individual files, resized copies are saved alongside their source folder with the chosen suffix. Collision-safe numbering avoids overwriting an existing file.
Your next batch starts here.
Download for Mac — free